
When it comes to installing new flooring, proper subfloor preparation is crucial for a successful and long-lasting result. Subfloor preparation services are essential to ensure that the underlying surface is clean, level, dry, and free from any defects that could affect the new flooring. In this guide, we will take you through a step-by-step approach to subfloor preparation services, highlighting the key steps involved in the process.
Step 1: Assessment of the Sub Floor
Before beginning any subfloor preparation work, it is important to assess the condition of the existing subfloor. This will help determine the extent of work required and the best approach to take. Here are some key points to consider during the assessment:
- Check for any existing damage, such as cracks, uneven surfaces, or moisture issues.
- Determine the type of subfloor material (e.g., concrete, plywood, particle board).
- Measure the moisture levels to ensure they are within acceptable limits for the new flooring material.
Step 2: Sub Floor Cleaning
Once the assessment is complete, the next step is to thoroughly clean the subfloor to remove any debris, dust, grease, or adhesive residue. A clean sub floor is essential for proper adhesion of the new flooring material. Here are some common cleaning methods:
- Vacuuming the subfloor to remove dust and dirt.
- Scrubbing the subfloor with a cleaning solution to remove grease and adhesive residue.
- Use a damp cloth to wipe down the subfloor and ensure it is free from any remaining debris.
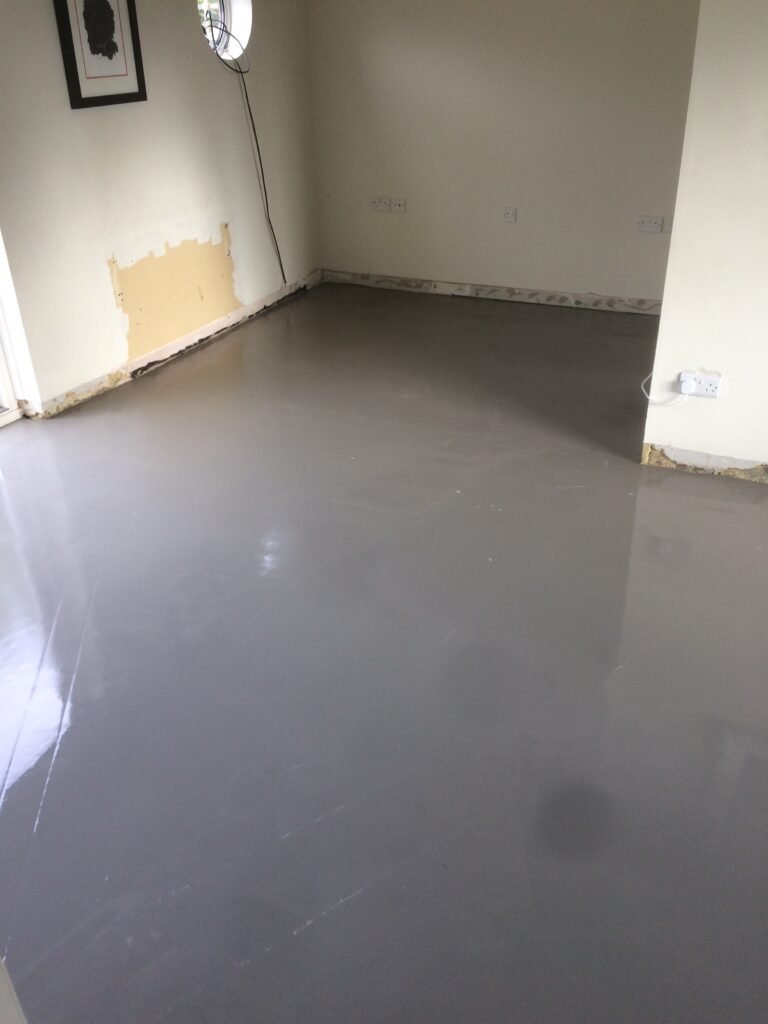
Step 3: Leveling the Sub Floor
Uneven sub floors can result in gaps, squeaks, or uneven wear of the new flooring material. To ensure a smooth and level surface, it may be necessary to level the sub floor using self-leveling compound or floor patching material. Here’s how the process typically works:
- Identify any low spots or uneven areas on the sub floor.
- Prepare the self-leveling compound according to the manufacturer’s instructions.
- Pour and spread the compound over the sub floor, using a trowel to smooth it out.
- Allow the compound to dry completely before proceeding with the installation of the new flooring.
Step 4: Moisture Testing
Moisture can be a major concern when it comes to sub floor preparation, as excessive moisture can lead to mold growth, warping of the flooring material, and other issues. It is important to test the moisture levels of the sub floor before installing any new flooring. Here are some common moisture testing methods:
- Calcium chloride test: This method involves placing a sealed container of calcium chloride on the sub floor to absorb moisture over a period of time.
- Relative humidity test: This method measures the relative humidity inside the concrete slab to determine if it is within acceptable limits for the new flooring material.
- Moisture meter test: This handheld device measures the moisture content of the sub floor material directly.
Step 5: Sub Floor Repairs
If any damage or defects are found during the assessment phase, it is important to address these issues before proceeding with the installation of the new flooring. Common sub floor repairs may include:
- Filling cracks or holes in the sub floor using a suitable filler material.
- Replacing any damaged sub floor sections with new material.
- Repairing or replacing sub floor underlayment if necessary.
Step 6: Sub Floor Sealing
Sealing the sub floor can help prevent moisture from seeping through and damaging the new flooring material. There are various types of sealers available, depending on the type of sub floor material. Here are some common sub floor sealing methods:
- Applying a moisture barrier sealer to prevent moisture from penetrating the sub floor.
- Using a primer to improve the adhesion of the new flooring material to the sub floor.
- Applying a waterproofing membrane for added protection against moisture.
Step 7: Final Inspection
Before proceeding with the installation of the new flooring, it is important to conduct a final inspection of the sub floor to ensure that all the necessary steps have been completed successfully. Here are some key points to consider during the final inspection:
- Check for any remaining debris or dust on the sub floor.
- Ensure that the sub floor is level and free from any visible defects.
- Verify that the moisture levels are within acceptable limits for the new flooring material.
By following this step-by-step approach to sub floor preparation services, you can ensure that your new flooring installation is done correctly and will stand the test of time. Proper sub floor preparation is the foundation of a successful flooring project, so it’s important not to cut corners in this crucial step of the process.