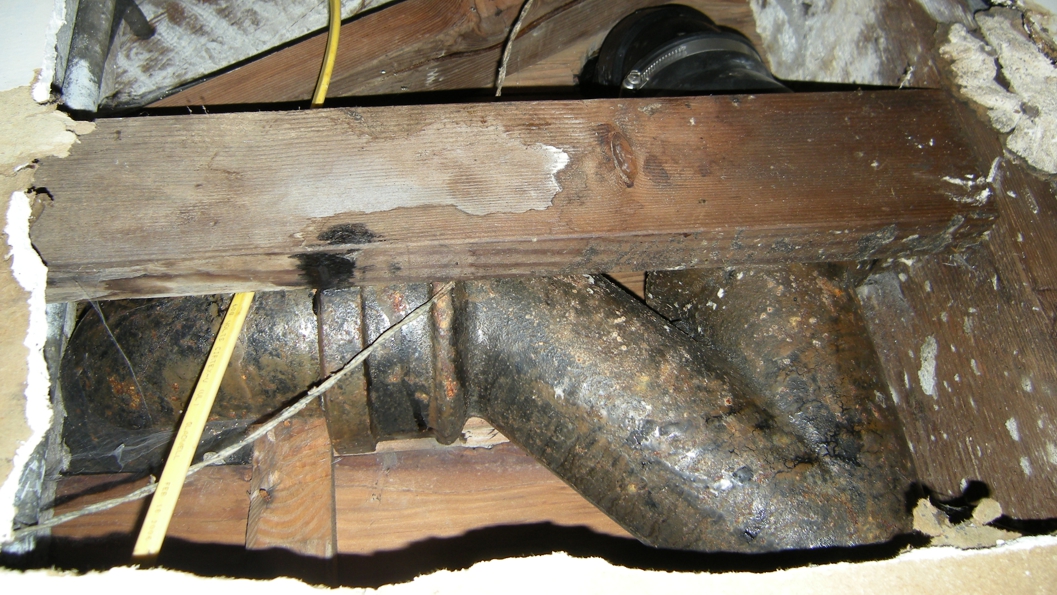
Dealing with a leaky or damaged cast iron pipe in your home can be a stressful and costly issue to address. However, with a bit of knowledge and some DIY skills, you can potentially save yourself a significant amount of money by repairing the pipe yourself. In this guide, we will provide you with a step-by-step overview of how to successfully repair a cast iron pipe in your home.
The first step in repairing a cast iron pipe is to identify the location of the leak or damage. This may involve inspecting your pipes for any visible signs of corrosion, rust, or water stains. Once you have located the problematic area, you will need to determine the extent of the damage. If the damage is minor, such as a small crack or hole, you may be able to repair the pipe using a simple patch. However, if the damage is more extensive, you may need to replace a section of the pipe altogether.
To repair a small crack or hole in a cast iron pipe, you will need to start by cleaning the area around the damaged area with a wire brush and some sandpaper. This will help to remove any rust, corrosion, or debris that may be present on the pipe. Once the area is clean, you can then apply a cast iron repair paste or epoxy compound to the damaged area. Make sure to follow the manufacturer's instructions carefully when applying the repair compound to ensure a proper seal.
If the damage to the cast iron pipe is more significant and requires you to replace a section of the pipe, you will need to start by cutting out the damaged section using a reciprocating saw or pipe cutter. Make sure to wear safety goggles and gloves when cutting through the pipe to protect yourself from any debris. Once you have removed the damaged section, you can then measure and cut a new piece of cast iron pipe to fit the space. Make sure to use a cast iron pipe cutter to ensure a clean and precise cut.
Before installing the new section of pipe, you will need to clean the ends of the existing pipe using a wire brush and some sandpaper to remove any rust or debris. You can then apply a layer of pipe joint compound to the ends of the new section of pipe before connecting it to the existing pipe using cast iron couplings. Make sure to tighten the couplings securely using a pipe wrench to prevent any leaks.
Once you have completed the repair or replacement of the cast iron pipe, it is important to test the pipe for leaks before covering it back up. You can do this by running water through the pipe and checking for any signs of leakage. If you notice any leaks, you may need to tighten the couplings further or reapply the repair compound to ensure a proper seal.
Overall, repairing a cast iron pipe in your home can be a manageable DIY project with the right tools and knowledge. By following the steps outlined in this guide, you can potentially save yourself time and money by avoiding the need to hire a professional plumber. However, if you are unsure about your ability to repair the pipe yourself or if the damage is extensive, it may be best to consult with a licensed plumber to ensure the job is done correctly and safely.